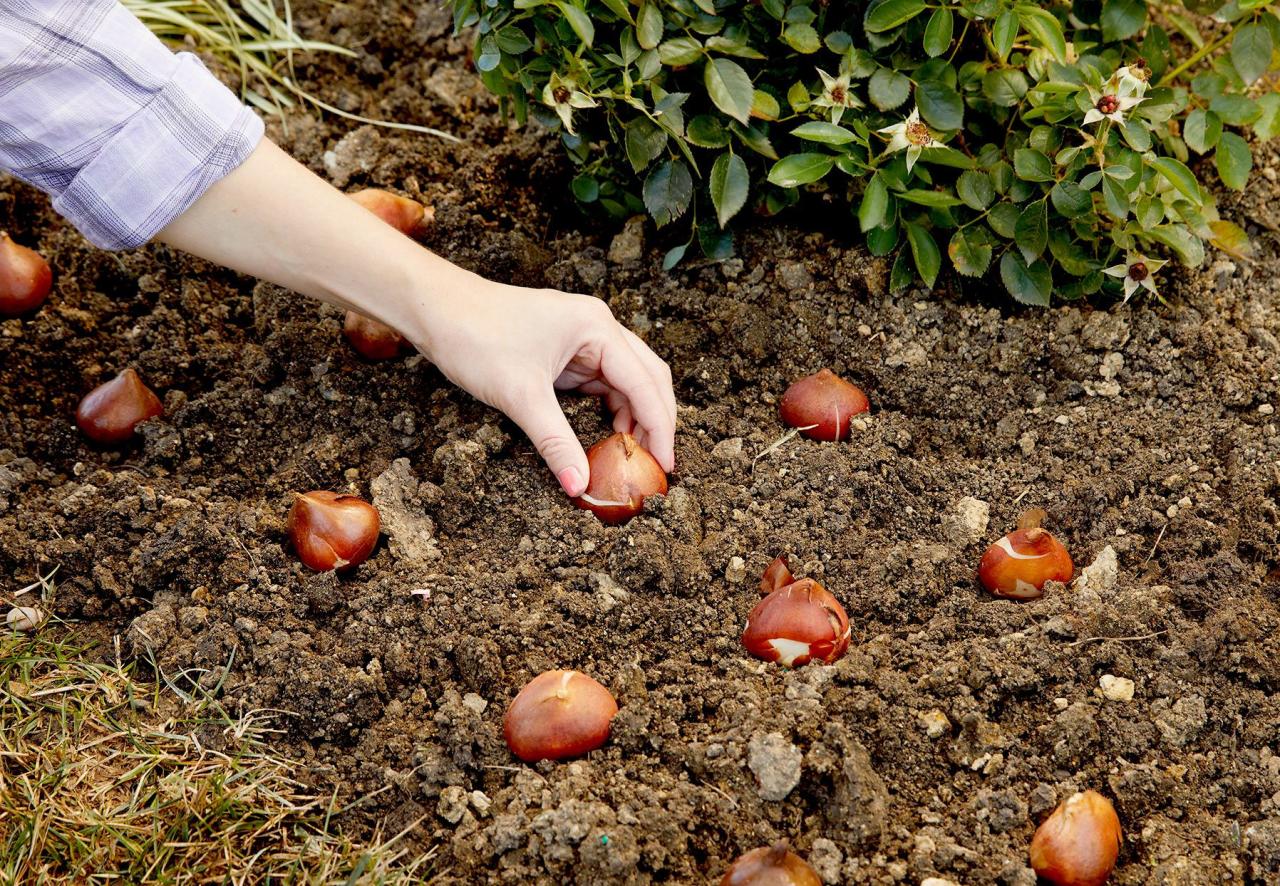
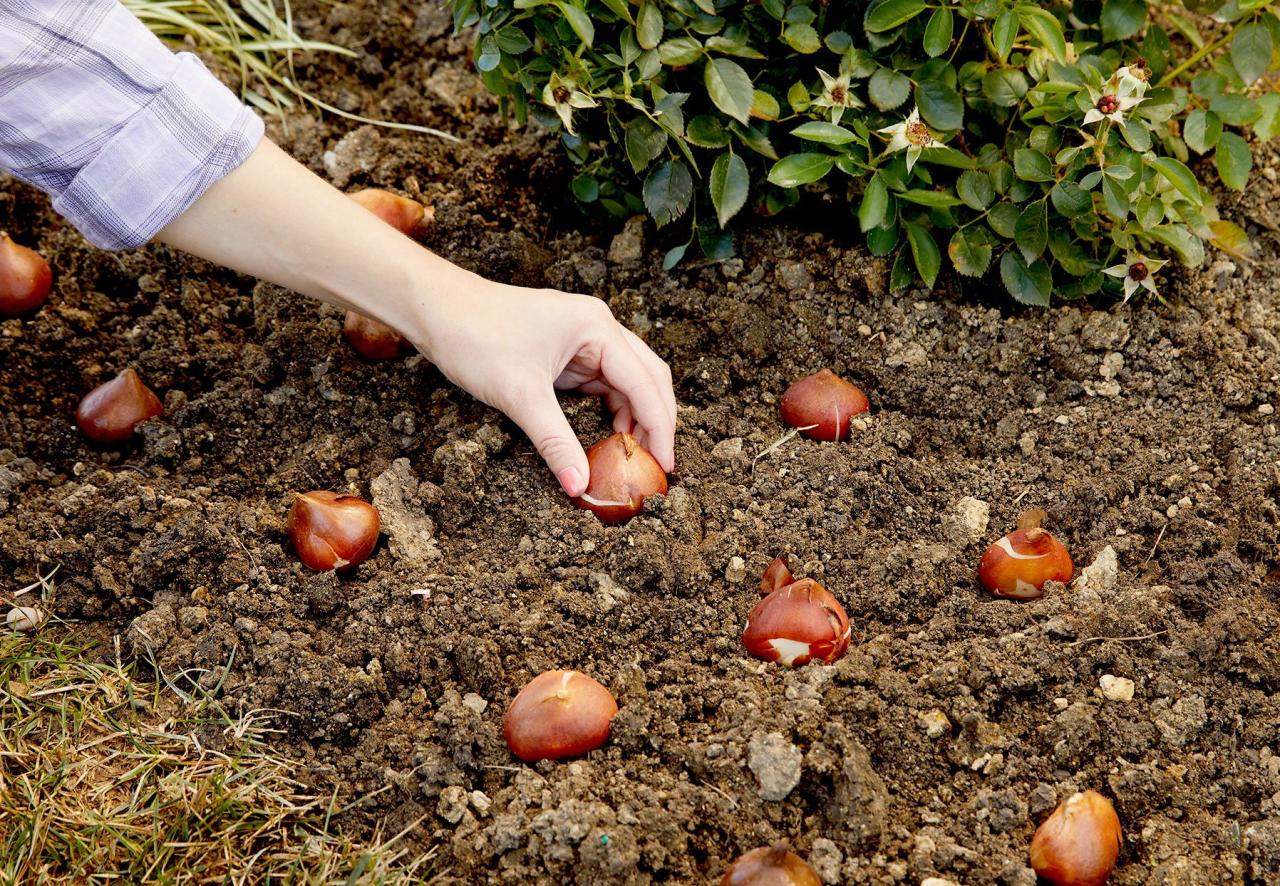
Best Techniques For Fall Planting Of Spring Bulbs For Beginners – Imagine a vibrant tapestry of colors blooming in your garden come spring, a symphony of cheerful hues that herald the arrival of warmer days. Achieving this breathtaking display begins in the fall, with the strategic planting of spring-blooming bulbs.
This comprehensive guide will equip you with the knowledge and techniques to successfully plant bulbs, ensuring a spectacular bloom come springtime.
From selecting the right bulbs to ensuring proper planting depth and care, we’ll explore every aspect of fall bulb planting. This guide is tailored for beginners, offering clear instructions and helpful tips to navigate the process with confidence. Prepare to transform your garden into a vibrant wonderland of spring blooms with these expert techniques.
Choosing the Right Bulbs
Spring-blooming bulbs are a beautiful and easy way to add color and interest to your garden. But with so many different types of bulbs available, it can be overwhelming to know where to start. This guide will help you choose the right bulbs for your fall planting, ensuring a vibrant display of blooms next spring.
Bulb Types and Characteristics
- Tulips:Tulips are a classic spring bulb with a wide range of colors, shapes, and sizes. They typically bloom in late spring, with some varieties flowering earlier or later. Tulip heights vary, with some reaching over 2 feet tall and others remaining compact.
- Daffodils:Daffodils are known for their cheerful yellow blooms, although they also come in white, orange, and pink. They are generally hardy and easy to grow, blooming in early to mid-spring. Daffodil heights range from 6 inches to 18 inches.
- Hyacinths:Hyacinths are known for their strong, sweet fragrance and vibrant colors, including purple, pink, white, and red. They bloom in mid-spring, reaching heights of 12 to 18 inches.
- Allium:Alliums are a type of ornamental onion that produces globe-shaped flower heads in shades of purple, pink, and white. They bloom in late spring and early summer, reaching heights of 1 to 3 feet.
- Crocus:Crocuses are among the earliest blooming bulbs, often appearing as early as February or March. They come in a variety of colors, including purple, yellow, white, and striped. Crocuses are relatively small, reaching heights of only 4 to 6 inches.
Selecting Healthy Bulbs
When choosing bulbs, it’s important to select healthy specimens that will produce beautiful blooms. Look for bulbs that are firm and plump, with no signs of damage, disease, or mold. Avoid bulbs that are soft, shriveled, or have any discoloration.
Storing Bulbs Before Planting
If you’re not planting your bulbs immediately, it’s important to store them properly to prevent them from drying out or becoming damaged. Store bulbs in a cool, dry, and well-ventilated place. You can store them in a paper bag or a mesh bag, but avoid plastic bags, which can trap moisture and cause rot.
Preparing the Planting Site: Best Techniques For Fall Planting Of Spring Bulbs For Beginners

A well-prepared planting site is crucial for successful bulb planting. Providing bulbs with the right environment ensures optimal growth and beautiful blooms the following spring.
Mastering the art of fall planting for spring bulbs can seem daunting, but it’s simpler than you think. The key is understanding the basics of bulb planting, such as choosing the right location and depth, and ensuring proper drainage.
For a comprehensive guide on all aspects of fall bulb planting, check out this article on How To Plant Spring Bulbs In Fall For The Best Results. Once you’ve mastered the fundamentals, you’ll be well on your way to enjoying a vibrant display of spring blooms next year.
Soil Testing and Amendment
Testing the soil pH is a crucial step in preparing your planting site. The ideal pH range for most bulbs is between 6.0 and 7.0.
- To test the soil pH, you can use a soil testing kit available at most garden centers. These kits provide instructions on how to collect and test a soil sample.
- If the soil pH is too acidic (below 6.0), you can raise it by adding lime.
- If the soil pH is too alkaline (above 7.0), you can lower it by adding sulfur.
Amending the soil pH is important because it affects the availability of nutrients to the bulbs.
Incorporating Organic Matter, Best Techniques For Fall Planting Of Spring Bulbs For Beginners
Incorporating organic matter into the soil is essential for improving drainage and fertility.
Mastering the best techniques for fall planting of spring bulbs is key to a vibrant garden. A naturalized look, with bulbs seemingly scattered in a carefree manner, is highly sought after. For inspiration on how to achieve this, explore How To Create A Naturalized Look By Planting Bulbs In Fall.
The techniques outlined there will help you plant bulbs in a way that mimics nature, ensuring a stunning display of spring blooms.
- Organic matter can include compost, manure, or leaf mold.
- Adding organic matter improves soil structure, allowing water to drain efficiently while retaining moisture.
- Organic matter also provides essential nutrients to the bulbs, promoting healthy growth and vibrant blooms.
To incorporate organic matter, work it into the top 6-8 inches of soil before planting.
Providing Care After Planting
Planting spring bulbs in the fall is a crucial step in ensuring their successful blooming in the spring. However, it’s equally important to provide the bulbs with proper care after planting to help them establish themselves and thrive during the winter months.
This includes ensuring adequate moisture, protecting them from frost, and providing a layer of mulch.
Watering Bulbs
After planting, it’s essential to water the bulbs thoroughly to settle the soil around them. This helps the bulbs to establish roots and prepare for the winter months. Continue to water the bulbs regularly throughout the fall, especially during dry periods.
The soil should be kept consistently moist but not waterlogged. During the winter, watering is less critical as the bulbs are dormant, but you may need to water them during extended dry spells.
Protecting Bulbs from Frost
Bulbs are generally hardy and can withstand freezing temperatures. However, extreme frost or sudden temperature fluctuations can damage or kill them. To protect your bulbs from frost, consider using a layer of mulch. Mulch helps to insulate the soil and prevent it from freezing too deeply.
Other methods include covering the planting area with a frost blanket or burlap sack.
Mulching Bulbs
Mulching is a beneficial practice for spring bulbs. It helps to retain moisture, regulate soil temperature, and suppress weed growth. Apply a 2-3 inch layer of organic mulch, such as shredded bark, compost, or straw, over the planting area after the soil has frozen.
The mulch will decompose over time, adding nutrients to the soil.
Troubleshooting Common Problems
Even with the best intentions, fall bulb planting can sometimes face challenges. Understanding common issues and how to address them can help ensure a successful spring bloom.
Identifying and Addressing Common Bulb Problems
While many issues can arise, the most frequent ones are related to pests, diseases, and improper planting depth.
- Pests:Squirrels, voles, and other rodents are notorious for digging up bulbs, especially tulips and daffodils.
- Diseases:Fungal diseases like gray moldcan affect bulbs in storage or after planting.
- Improper Planting Depth:Planting too shallowly exposes bulbs to frost damage, while planting too deeply can hinder emergence.
Pest Prevention and Control
To prevent pest damage, consider these strategies:
- Repellents:Planting garlicor onionbulbs around the perimeter of your planting area can deter some rodents.
- Protective Barriers:Use wire mesh basketsor hardware clothto encase bulbs and prevent digging.
- Repellents:Commercial rodent repellentscan be effective, but follow instructions carefully.
Disease Prevention and Control
Prevent fungal diseases with these steps:
- Bulb Selection:Choose healthy, firm bulbs without signs of mold or damage.
- Storage:Store bulbs in a cool, dry, and well-ventilated area.
- Soil Amendments:Improve soil drainage to prevent waterlogged conditions that favor fungal growth.
- Fungicides:Use fungicidal spraysas a preventative measure, especially during periods of high humidity.
Addressing Planting Depth Issues
Proper planting depth is crucial:
- Depth Guidelines:Plant bulbs at a depth that is twice the height of the bulb.
- Soil Type:Adjust planting depth based on soil type. In sandy soil, plant deeper, and in clay soil, plant shallower.
- Bulbs:Different bulbs have different planting depths, so refer to specific instructions for each variety.
Problem |
Cause |
Remedy |
|---|---|---|
Bulbs not blooming |
Improper planting depth, incorrect timing, or inadequate sunlight |
Ensure correct planting depth, plant at the right time, and provide sufficient sunlight |
Pests damaging bulbs |
Rodents, insects, or other pests |
Use protective barriers, repellents, or pest control measures |
Fungal diseases |
Excess moisture, poor drainage, or infected bulbs |
Improve drainage, use healthy bulbs, and consider fungicidal sprays |
Bulbs rotting |
Overwatering, poor drainage, or fungal infections |
Improve drainage, avoid overwatering, and treat with fungicides if necessary |
Final Summary
By following these best techniques, you’ll be well on your way to a spectacular spring garden filled with vibrant blooms. Remember, patience is key, and with a little care and attention, you’ll be rewarded with a dazzling display of color come springtime.
Now, go forth and plant your bulbs with confidence, knowing you’ve laid the foundation for a breathtaking floral masterpiece!
Q&A
What is the best time to plant spring bulbs in the fall?
The optimal time to plant spring bulbs in the fall is usually six to eight weeks before the first frost in your area. This allows the bulbs to establish roots before the ground freezes.
Can I plant bulbs in containers?
Yes, you can plant bulbs in containers. Choose a container with drainage holes and fill it with a well-draining potting mix. Plant the bulbs according to the recommended depth and spacing.
What should I do if I see signs of pests or diseases on my bulbs?
If you notice any signs of pests or diseases, it’s best to discard the affected bulbs to prevent the spread. You can also treat the soil with an appropriate fungicide or insecticide.
